Aioli Recipe for Sandwiches
Highlighted under: Whisked Wonders
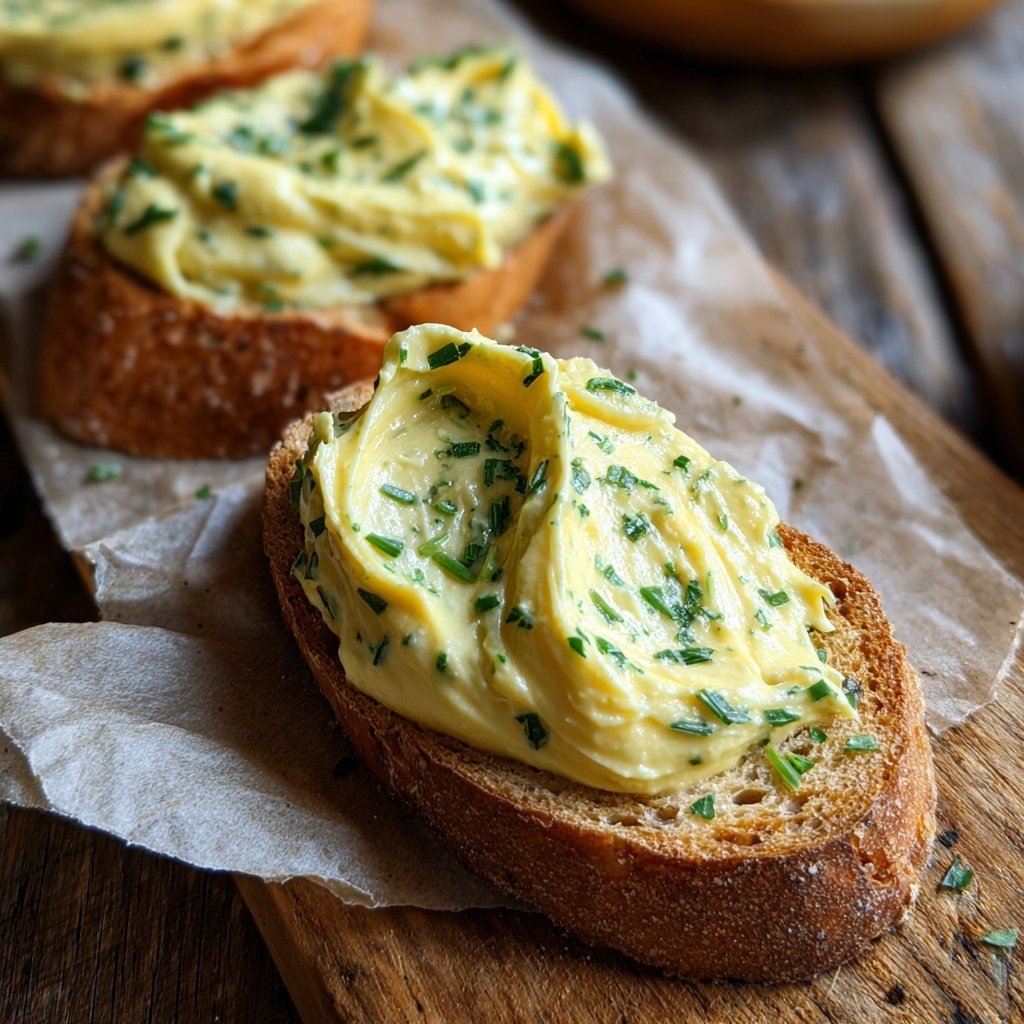
I absolutely love making aioli for sandwiches. It's a simple yet versatile condiment that adds a burst of flavor to any meal. The creamy texture, combined with a hint of garlic and lemon, elevates even the most basic sandwiches. This recipe is quick and requires only a few ingredients, making it an easy go-to whenever I'm in need of a delicious spread. I promise, once you try this aioli, you won’t want to go back to store-bought versions!
When I first started experimenting with aioli, I was amazed by how easy it was to whip up at home. The taste of fresh garlic combined with olive oil is unbeatable! One of my friends even said it was the best aioli she had ever tasted, and I think it’s all about using quality ingredients and the right technique.
One of the tips I learned is to use a food processor for a super smooth texture. Just be sure to add the oil gradually; this helps emulsify the mixture perfectly. Trust me, a homemade aioli will take your sandwiches to the next level!
Why You'll Love This Aioli
- Creamy and rich texture that complements every bite
- Fresh garlic flavor that invigorates your sandwiches
- Quick and easy to make, so you can spend more time enjoying your meal
Understanding Emulsification
Emulsification is the key technique to perfecting aioli. This process involves combining two ingredients that typically don't mix well, such as oil and water-based components, in this case, the egg yolk and lemon juice. The egg yolk acts as an emulsifier, helping to create a stable mixture. When adding the oil, do so slowly while the processor runs; this gradual incorporation is crucial to achieving a thick, creamy consistency without breaking the emulsion.
If your aioli does break—meaning it separates and doesn't hold together—don't worry! You can rescue it by whisking a new egg yolk in a bowl and slowly adding the broken aioli while whisking energetically. This method can save your sauce and prevent food waste, ensuring you enjoy your homemade aioli even if things didn't go as planned.
Flavor Variations
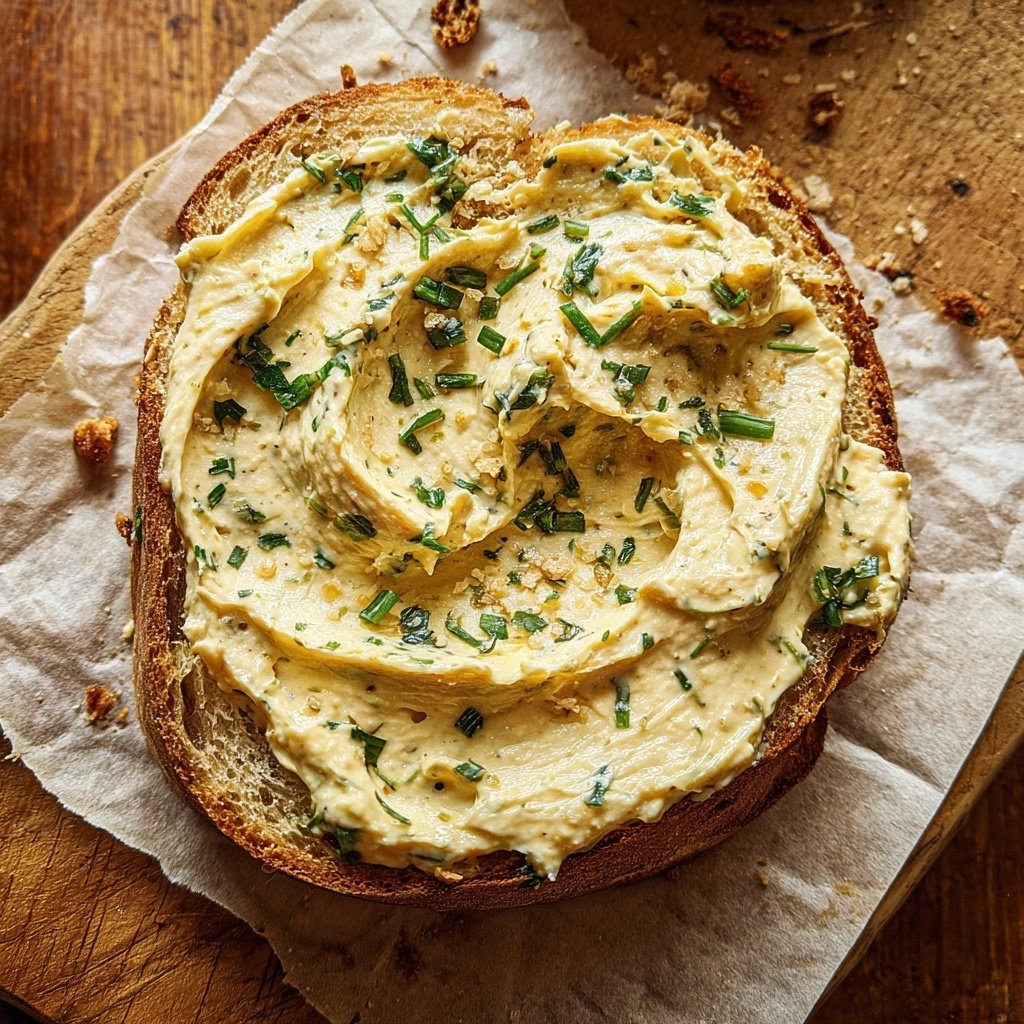
While this classic aioli recipe is fantastic as is, consider experimenting with additional flavors to suit your palate. For a spicy kick, try adding a small amount of finely diced jalapeño or a dash of cayenne pepper. Alternatively, mixing in fresh herbs like basil or dill can create a vibrant herb-infused aioli. Just chop the herbs finely and fold them into the finished aioli for a fresh take on the traditional recipe.
If you're looking for a twist that balances richness with a touch of sweetness, incorporating a teaspoon of Dijon mustard not only enhances the flavor but also contributes to emulsification. This addition can provide depth and complexity to your aioli, making it an even more irresistible condiment for sandwiches!
Storage Tips
Homemade aioli can be a fantastic make-ahead condiment, allowing you to prepare it in advance of serving. Once made, transfer it to an airtight container and store it in the refrigerator. It can last up to one week, but for the best flavor and freshness, I recommend enjoying it within three to five days. Be sure to keep it well-covered to prevent it from absorbing other odors from the fridge.
If you want to increase the shelf life, consider freezing your aioli in an ice cube tray. Once frozen, transfer the cubes to a resealable bag or container, and you can pop out as many as you need for future sandwiches or dips. Just remember to thaw it slowly in the fridge before use to maintain its texture and flavor.
Ingredients
Gather these simple ingredients to create a delicious aioli:
Ingredients
- 1 large egg yolk
- 1 cup olive oil
- 2 cloves garlic, minced
- 1 tablespoon lemon juice
- Salt to taste
Ensure all ingredients are at room temperature for best results.
Instructions
Follow these steps to make your aioli:
Combine Ingredients
In a food processor, add the egg yolk, minced garlic, and lemon juice. Pulse briefly to combine.
Add Olive Oil
While the food processor is running, slowly drizzle in the olive oil until the mixture thickens and emulsifies.
Season
Once thick, season with salt to taste and give it one last pulse to combine.
Transfer the aioli to a bowl and enjoy it with your favorite sandwiches!
Pro Tips
- For an extra kick, experiment by adding a dash of cayenne pepper or smoked paprika.
Serving Suggestions
Aioli pairs beautifully with a variety of sandwich styles, but it truly shines on crusty bread like ciabatta or baguette. Spread a generous layer of aioli on both sides of the bread to enhance the flavors of your filling. It works wonderfully with roasted vegetables, sliced meats, or even grilled cheese sandwiches, adding creaminess and a delightful garlic kick that elevates each bite.
Don't stop at sandwiches—this aioli is a fabulous dip for fresh veggies or chips. Serve it alongside a platter of crudités for a zesty appetizer or accompaniment to your favorite party snacks. Its versatility means you can include it in any meal where you want to add some creamy, garlicky goodness!
Ingredient Substitutions
If you're looking to adjust the recipe for dietary preferences, there are a few substitutions worth considering. For a vegan version, you can replace the egg yolk with aquafaba, the liquid from canned chickpeas. It emulsifies similarly to egg yolk and provides a comparable creamy texture. Just use three tablespoons of aquafaba instead of one yolk to achieve the same results.
In terms of oil, while olive oil is traditional and lends a robust flavor, you can experiment with lighter oils like avocado or grapeseed oil. These alternatives have milder flavors that may better complement certain fillings. Just keep in mind that using a neutral oil will affect the overall taste of your aioli, so choose based on what you’re pairing it with.
Troubleshooting
One common issue when making aioli is achieving the perfect texture. If it’s too runny, it may not have emulsified properly. This usually stems from adding the oil too quickly. If this happens, try moving your mixture to a larger bowl and whisking in a bit more egg yolk or aquafaba to help stabilize it, then slowly drizzle in the remaining oil.
Another potential hiccup is if the garlic flavor becomes too overpowering, which can happen if the garlic is minced too finely. For a milder taste, consider using roasted garlic instead, which lends a sweeter note to the aioli. Simply roast the garlic until soft and golden, then mash it into the mixture for a more subtle flavor profile.
Questions About Recipes
→ Can I use a different kind of oil?
Yes, you can use avocado oil or a mild vegetable oil if you prefer.
→ How long can I store aioli?
Homemade aioli can be stored in the refrigerator for up to 1 week.
→ Is it safe to consume raw egg yolk?
If you're concerned, use pasteurized eggs to make it safer.
→ Can I make aioli without a food processor?
Yes, you can whisk the ingredients together by hand, but it may take more effort to achieve the same emulsion.
Aioli Recipe for Sandwiches
Created by: Katherine Blake
Recipe Type: Whisked Wonders
Skill Level: Beginner
Final Quantity: 1 cup
What You'll Need
Ingredients
- 1 large egg yolk
- 1 cup olive oil
- 2 cloves garlic, minced
- 1 tablespoon lemon juice
- Salt to taste
How-To Steps
In a food processor, add the egg yolk, minced garlic, and lemon juice. Pulse briefly to combine.
While the food processor is running, slowly drizzle in the olive oil until the mixture thickens and emulsifies.
Once thick, season with salt to taste and give it one last pulse to combine.
Extra Tips
- For an extra kick, experiment by adding a dash of cayenne pepper or smoked paprika.
Nutritional Breakdown (Per Serving)
- Calories: 200 kcal
- Total Fat: 22g
- Saturated Fat: 3g
- Cholesterol: 37mg
- Sodium: 160mg
- Total Carbohydrates: 1g
- Dietary Fiber: 0g
- Sugars: 0g
- Protein: 1g